DIY
Tinkerers with solid prior knowledge can collect measurement data with their own components and our software. Everyone else can order ready-made LabPi stations here, including our adapter board and USB-C sensors.
Hardware
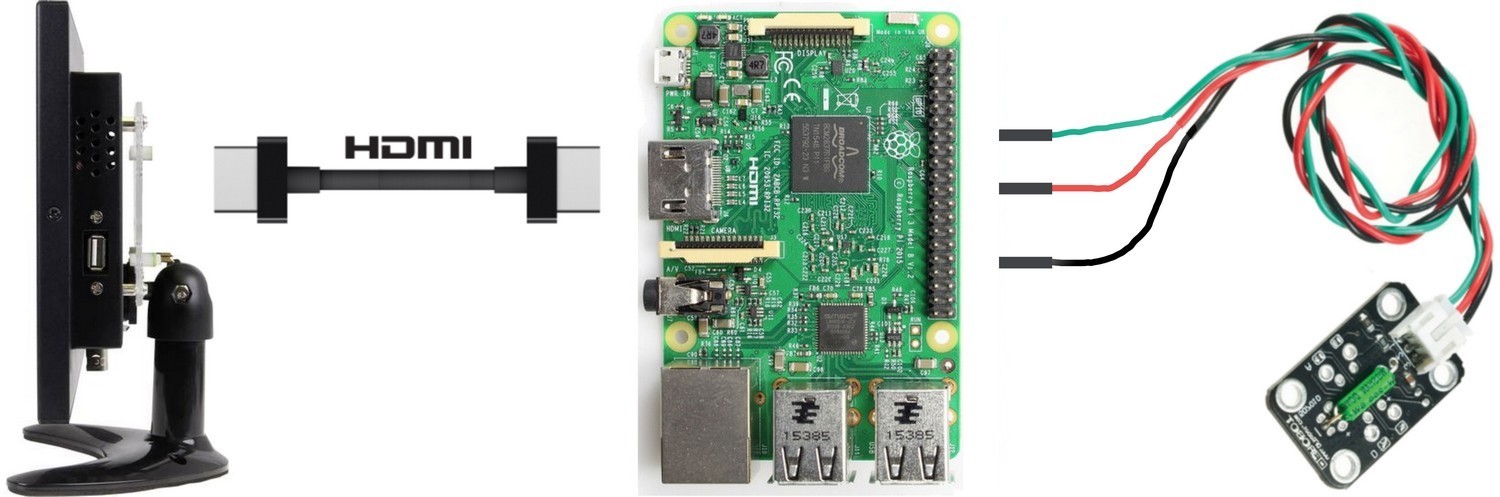
The hardware basically consists of three elements: mini computer, display and sensor. These parts are available from various electronics suppliers and can be purchased, soldered and assembled independently.
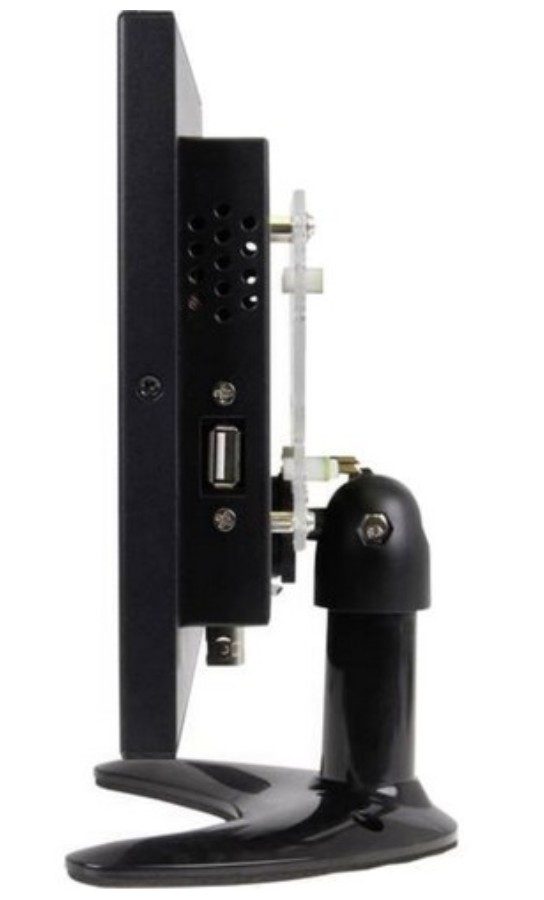
Display
Touchscreen (recommended) or monitor with HDMI connection, mouse and keyboard
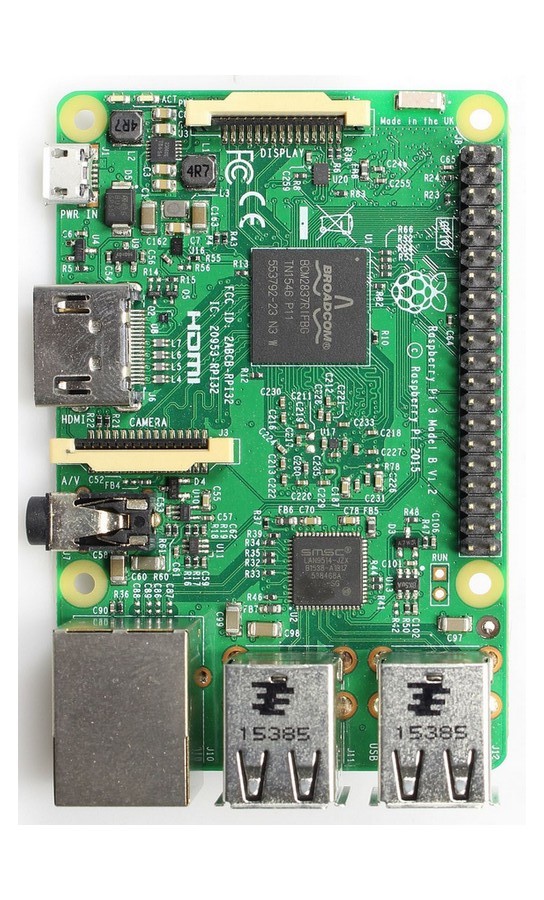
Mini computer
Raspberry Pi 3B+ (recommended) or other compatible models
Sensors
Sensors compatible with Raspberry Pi or Arduino
The mini computer and display are connected via an HDMI cable. If desired, or if the screen does not support touch input, a keyboard and mouse can also be connected via USB.
Sensors are connected to the GPIO ports of the mini computer by plug connectors. The required number and selection of ports depend on the individual sensor and are usually documented in the relevant manuals or data sheets.
To record data in LabPi, sensors first need to be technically integrated for this purpose. A list of compatible sensors is available on request.
Tips from classroom practice
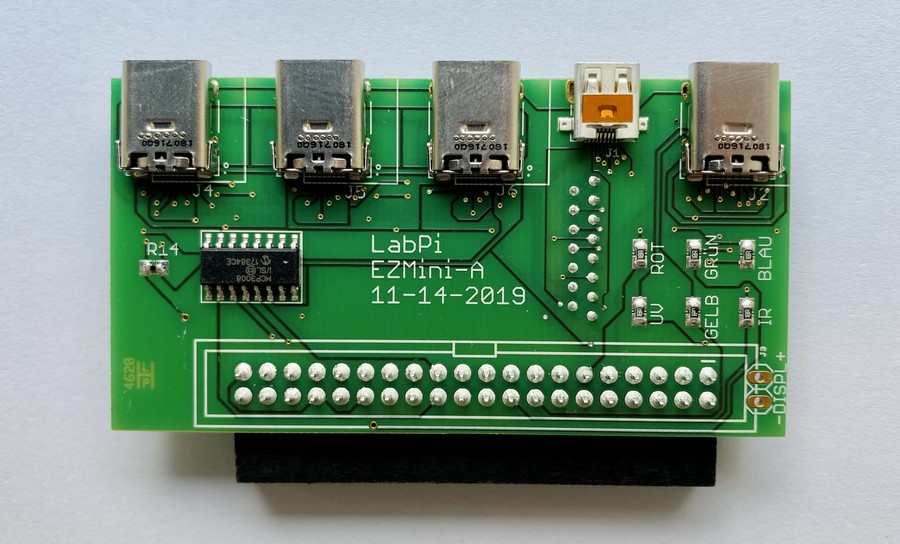
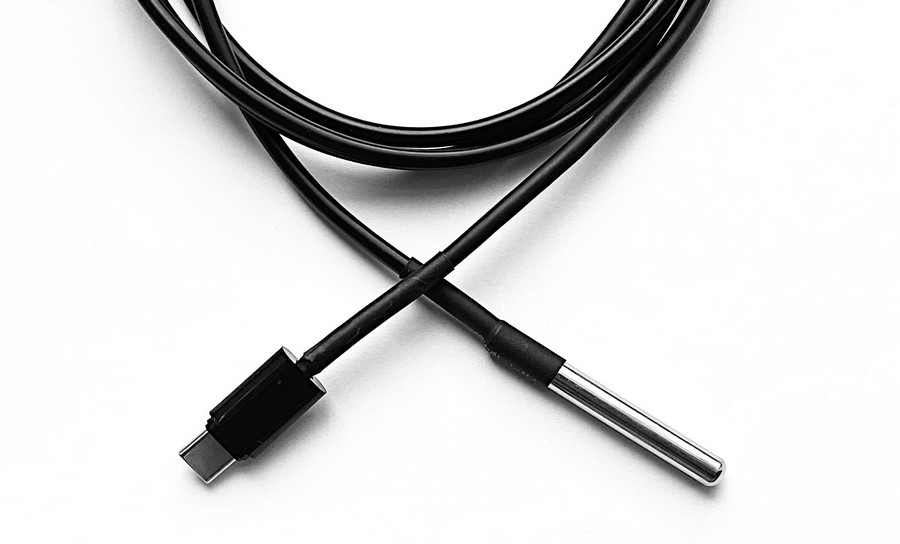
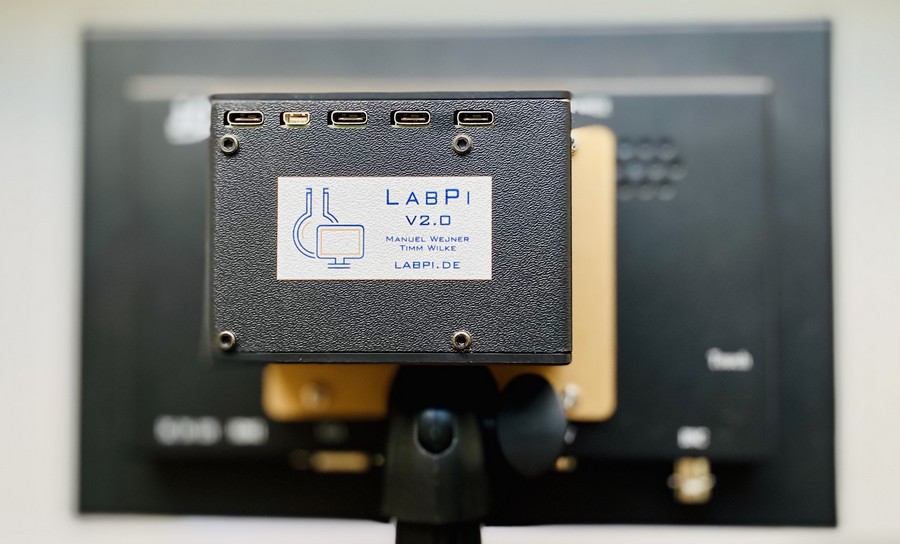
Connecting sensors directly to the 40 GPIO ports of a mini computer requires 3 to 12 cables per sensor. Because this demands technical expertise and valuable lesson time, and incorrect wiring can damage sensors through excessive voltage, we developed an adapter board and matching sensors for teaching. This allows teachers and learners to connect and swap sensors via USB as easily as memory sticks. For everyday lab use, we also recommend a housing.
Software
The LabPi software was developed with a strong educational focus. It handles technical processes in the background so that operation stays intuitive and does not require programming knowledge. Here you can download the current image free of charge.
Self-installation
The software is available as a standalone package as well as an image for download. Installation instructions can be found in the documentation.